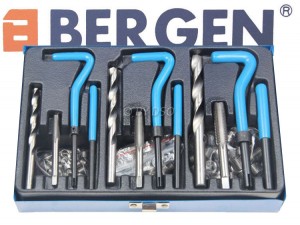
Are you the owner of an older car? If so, damaged threads could be a problem. All professional mechanics can handle the issue for you but heli coil thread repairs can also happen at home. You will need to get a heli coil repair kit and you will simply have to follow a number of steps.
You should get started by purchasing the right equipment for the DIY heli coil thread repair.
Use this checklist to identify all the items needed for the repair.
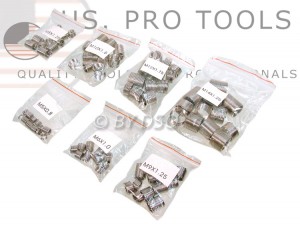
Get the repair kit first because it is the most important piece of equipment. Additionally, you will have to buy or find a two-handed tap wrench, the specified drill bit, a thread gauge, a hammer, a round punch and needle-nosed pliers. The kit itself consists of several components like a drill, stainless steel wire coil, a tap and an installation tool.
Measure the Size of the Old Bolt
The first thing you need to do is measure the size of the original bolt. Use the head of the wrench and match it to the bolt for an accurate measurement. Get your thread gauges set and identify the matching piece. This is it – you have found the correct bolt size. The heli coil kit contains a matching tap. Base the decision on the bolt size that you just figured out. The threads are going to be the same but the size of the new diameter is going to be a bit bigger than the old one.
The Insertion Process
Get the right tap bit and start drilling a hole. If the bolt angle is critical, you may consider using a drill press to make more accurate and precise adjustments.
After drilling the hole, you will need the two-handed tap wrench. Put the tap in the wrench. Place it in the hole you have already drilled and hold it at 90 degrees to the surface. After positioning it correctly, turn the two-handed tap wrench clockwise for half a turn. You need to do that in order to start the thread. Next, turn the wrench anti-clockwise for a third of a turn to break the ribbon of metal. Change the direction and rotate clockwise for half a turn. Finally, to break the swarf, you will have to turn the wrench anti-clockwise once again. Maintain the pattern until the new thread is fully cut.
The thread is finally cut and you can now work on to the heli coil insert. Get the thread driver that is found in the heli coil kit and screw the heli coil insert into its end. The angle between the wire and the end of the insert should be 90 degrees. This will form a break-off tab that will keep the insert immobile. The end of the insert should be positioned in the newly threaded hole. You will need just three to four turns, in order to screw it in. Make sure that everything looks perfect before snapping the 90-degree wire off. The easiest way to complete that step involves a hammer.
This is the final step of the heli coil thread repair process. Test fit into the heli coil insert and you will be done.
Author – Tony Heywood

Tony Heywood is a ‘Retail Troubleshooter’ with 40 years experience in the retail industry, specialising in e-commerce over the last decade. He has his own consultancy firm and is MD of ’e sell it’, an on-line store selling tools and auto-care products worldwide.
For tools & auto-care products at trade prices, please visit: www.esellit.com
Or call: 020 8201 0588

